How to Set Up a Trezor Wallet: A Complete Guide for 2026

What Is a Trezor Wallet and Why Do You Need One?
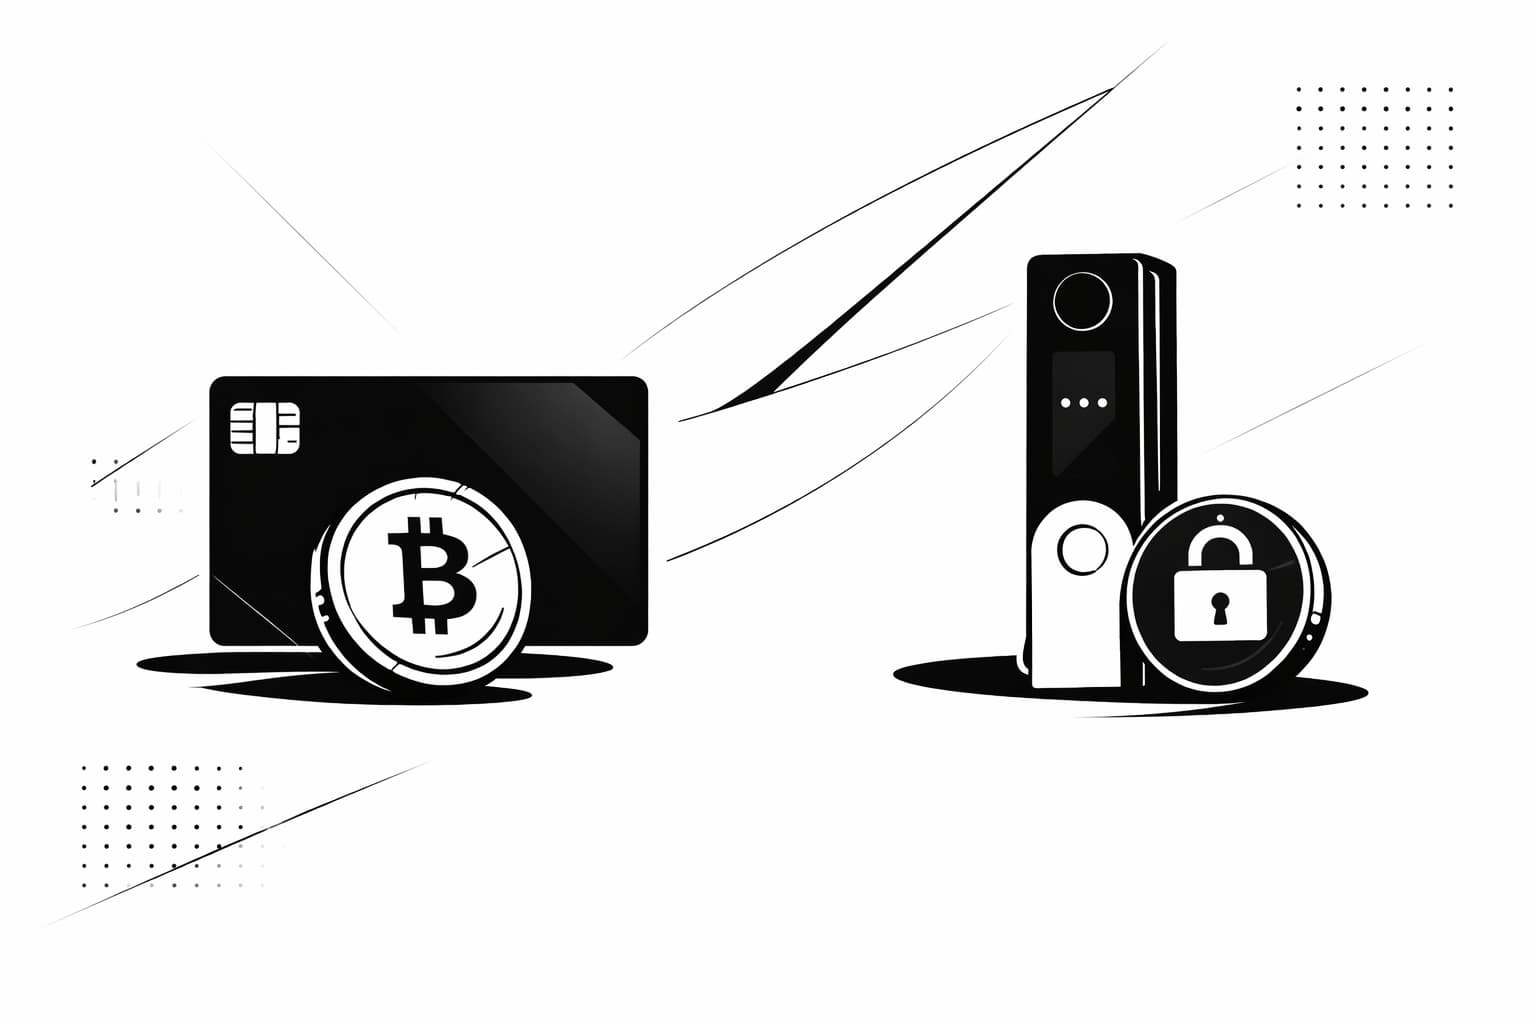
Welcome to the first step in truly securing your digital assets. A Trezor wallet is a small, physical device known as a hardware wallet. Its entire purpose is to keep your private keys—the secret codes that grant access to your cryptocurrency—completely isolated from the internet. Think of it as a specialized, highly secure vault for your coins.
This is a massive leap in security compared to software wallets that live on your computer or holding funds on a crypto exchange. Those "hot" wallets are always online, making them a constant target for hackers, malware, and clever phishing schemes. By keeping your keys offline, your Trezor acts as an impenetrable barrier against these digital threats.
The ultimate benefit is true self-custody. With a non-custodial hardware wallet like a Trezor, you hold the keys. You are in complete control. No company can freeze your account, and no exchange hack can touch your funds. This is what it means to be your own bank.
Whether you have the original Trezor Model One, the modern Trezor Safe 3, or another model, this trezor setup guide has you covered. The core principles are the same across all devices. We will walk you through every step, point out common pitfalls, and make sure your trezor wallet setup is done right for maximum security from day one.
Before You Begin: What You'll Need
Proper preparation is the key to a smooth and secure process. Before you plug anything in, let's gather a few essential items. Having everything ready will make this Trezor setup guide much easier to follow and will help you avoid common mistakes right from the start.
Here’s your quick pre-flight checklist:
- Your new Trezor device: Make sure the box is sealed and the tamper-evident holographic sticker is perfectly intact. If it looks damaged or peeled, stop immediately and contact Trezor support. Your security is paramount.
- A computer: Any modern desktop or laptop running Windows, macOS, or Linux will work perfectly.
- The included USB cable: Your device comes with the correct cable to connect to your computer. Find it in the box.
- A pen and paper: You will be writing down your recovery seed. It is vital that you write it on paper and never type it into a computer or take a photo of it.
Once you have these four items laid out, you are ready to begin the Trezor wallet setup. Let's get started.
Step-by-Step Trezor Setup Guide
Ready to secure your crypto? This guide breaks down the how to set up trezor process into five simple stages. Follow these steps to get your wallet operational in minutes:
- Unbox and Verify Authenticity: Check the holographic seal on your new device to ensure it has not been tampered with before you received it.
- Install Trezor Suite: Download the official software directly from suite.trezor.io and use it to install the latest firmware onto your device.
- Create Wallet and Set PIN: Generate a brand new wallet and protect it with a secure PIN using the scrambled on-device keypad.
- Back Up Your Recovery Seed: Carefully write down your unique 12 or 24-word recovery seed on paper and verify it with the device.
- Name Your Device: Give your Trezor a custom name to complete the setup process and make it easily identifiable.
Step 1: Unbox and Verify Your Trezor's Authenticity
Alright, you have your new device in hand. This is the first and arguably most important step in the entire Trezor setup guide. Before you even think about plugging your wallet into your computer, we need to perform a critical physical security check to ensure your device hasn't been tampered with on its way to you.
Carefully slide open the box. Inside, you'll typically find the Trezor device itself, a USB cable, some recovery seed cards, and a small getting started pamphlet. While the box is often sealed with plastic, the real security feature is the small holographic sticker on the device itself. Your focus should be entirely on this seal.
Checking the Holographic Seal
Pick up your Trezor and examine the USB port. You should see a small, iridescent holographic seal placed directly over the port's opening. A genuine seal is designed to be destroyed upon removal, making it impossible to plug a cable in without breaking it. It should be firmly glued down and look pristine.
Tilt the device in the light. A legitimate seal will have a vibrant, shimmering holographic effect with the Trezor logo clearly visible. Look very closely for any signs of tampering. Red flags include scratches, peeling edges, glue residue suggesting it was removed and reapplied, or a seal that looks dull and lacks a true holographic shine. If the seal is missing or placed anywhere other than directly over the port, consider the device compromised.
This is not a step to take lightly. If the seal on your device is broken, damaged, or looks even slightly suspicious, stop immediately. Do not proceed with the Trezor wallet setup. Contact Trezor's official support team to report the issue and request a replacement. Your security is paramount, and starting with a potentially compromised device is an unacceptable risk.
If the seal is perfectly intact, you can be confident your device is secure. Go ahead and carefully peel it off. You will likely have to break it to remove it completely—this is by design. With the seal removed, you are ready to connect your device and begin the initialization process.
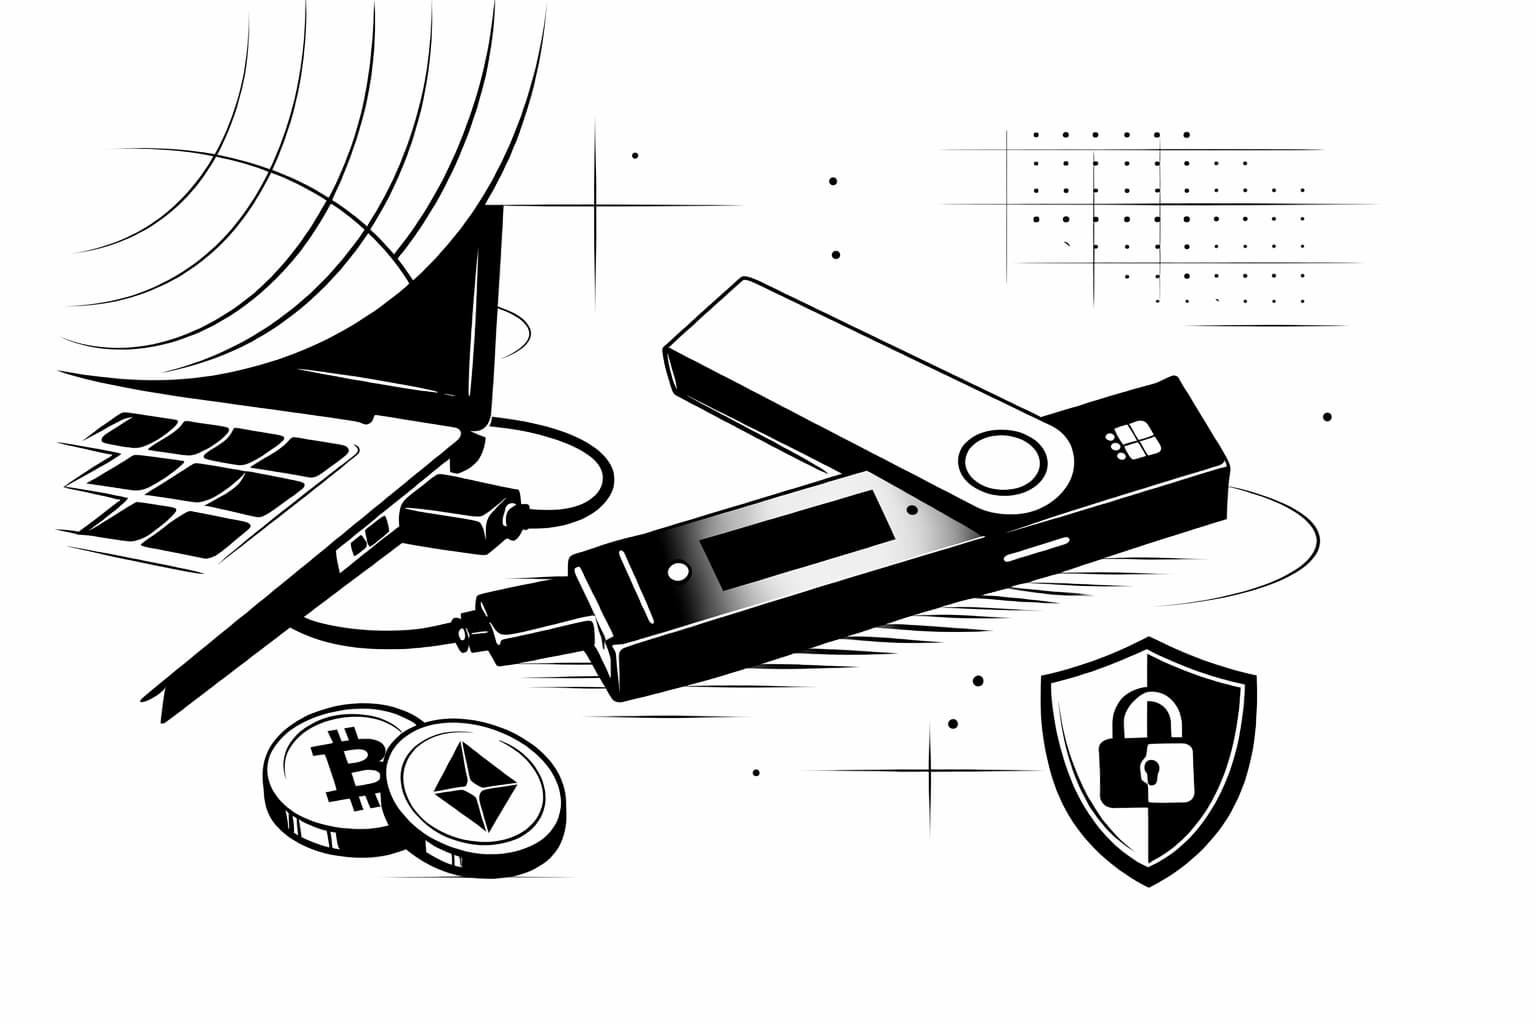
Step 2: Install Trezor Suite and Connect Your Device
With your device's authenticity confirmed, it's time to install the software that will serve as your secure portal to the crypto world. This application is called Trezor Suite, and it’s the official command center for managing your assets, sending transactions, and checking your balances.
Following this part of our trezor setup guide carefully is essential for your security. Let's get the software installed and your device connected for the first time.
Download and Install Trezor Suite
First, open your web browser and go only to the official Trezor website: suite.trezor.io. Do not use a search engine to find this link, as malicious ads can sometimes point to fake websites. Type the address directly into your browser's address bar.
Warning: Never download Trezor Suite from any other source. Fake versions of the software exist to steal your cryptocurrency. The only safe place is the official site.
Once on the site, download the desktop application for your operating system (Windows, macOS, or Linux). After the download is complete, open the file and follow the on-screen instructions to install Trezor Suite on your computer, just like any other program.
Connect Your Trezor and Install the Firmware
After installing and opening Trezor Suite, it will prompt you to connect your device. Use the USB cable that came in the box to plug your Trezor into a USB port on your computer. The screen on your Trezor will light up.
You’ll notice that Trezor Suite immediately detects that your device doesn't have any software, or "firmware," installed. This is a deliberate security feature. Trezor ships its hardware wallets "blank" to ensure that the device has not been tampered with during shipping and that you are installing the latest, most secure firmware directly from the source.
Trezor Suite will guide you through this simple process. Click the button on your computer screen to install the firmware. The software will download, and your Trezor device will then display a prompt asking you to confirm the installation. You must provide this confirmation by physically pressing the button(s) on your Trezor. Once you confirm, the firmware will install, and your device will restart. With that complete, you're ready for the next critical step.
Step 3: Create a New Wallet and Set Your PIN
With your Trezor connected and recognized by Trezor Suite, you're ready for the most important part of this process. In this step, you will generate your unique new wallet and protect it with a PIN. This code is what you'll use every time you want to access your funds or approve a transaction, so let's get it right.

Generating Your Wallet
On your computer screen, Trezor Suite will present you with a clear choice. Since this is a brand new device, you will select the option to Create new wallet. This action tells the device to generate a unique master private key, which is the foundation of your entire crypto portfolio. This key never leaves the secure hardware of your Trezor.
Setting a Secure PIN
Immediately after creating the wallet, the device will require you to set up a PIN. This is a brilliant security feature that protects your wallet from unauthorized physical access. Pay close attention here, as the process is designed to defeat keyboard-tracking malware.
Look at your Trezor device's screen. You will see a 3x3 grid displaying numbers 1 through 9 in a random, scrambled order. Now, look at the Trezor Suite application on your computer; you'll see a corresponding blank 3x3 grid of dots.
To enter your PIN, you will click the blank squares on your computer that match the position of your chosen numbers on the Trezor device. For example, if the number ‘8’ appears in the top-middle square on your Trezor, you would click the top-middle dot on your computer screen to enter an ‘8’. This layout changes with every prompt, making your PIN invisible to anyone or anything watching your computer screen.
Your PIN can be up to 9 digits long, and we highly recommend using at least 6 to 9 digits for strong security. Do not use simple patterns like ‘123456’, your birthdate, or repeating numbers. Think of a code that is random but memorable to you. Once entered, you will be asked to confirm it by repeating the process.
Warning: Your PIN is your key for daily use. If you enter it incorrectly too many times (the exact number varies by firmware), the Trezor device will wipe itself as a security precaution. This protects your assets from a thief trying to guess your PIN. While this sounds scary, don't worry—as long as you have your recovery seed (which you'll create in the very next step), you can always restore your wallet. Memorize your PIN, and never store a digital copy of it anywhere.
Step 4: The Recovery Seed - Your Master Backup
Alright, take a deep breath. This next step is, without a doubt, the most important part of your entire Trezor setup. After setting your PIN, Trezor Suite will guide you to back up your new wallet. This backup isn't a file; it's a unique sequence of 12 or 24 words called a recovery seed. Think of it as the master key to all your crypto.
If your Trezor device is ever lost, stolen, or destroyed, this recovery seed is the only way to get your funds back. Conversely, anyone who gets their hands on these words can access and steal your assets. Let's get this done correctly and securely.
Writing Down Your 12 or 24 Words
Trezor Suite will now ask you to begin the backup process. Grab the recovery seed cards that came in the box and a reliable pen. On your Trezor device’s screen, a series of words will appear one by one. Write each word down on the card, making sure to number them in the correct order.
Pay close attention here. The security of your entire wallet depends on keeping this seed offline. It must never touch any device connected to the internet.
- DO NOT take a picture of the words with your phone.
- DO NOT type them into a text file, email draft, or password manager on your computer.
- DO NOT save them to cloud storage like Google Drive or iCloud.
- DO NOT read the words out loud if anyone is nearby.
Double-check the spelling of every single word. A small typo will make your entire backup invalid. Take your time—there is no need to rush this critical step.
Verifying the Backup
Once you have written down all the words, your Trezor will test your work. This is to make sure you have a perfect, usable copy of your backup before any funds are sent to the wallet. The device will randomly ask you to confirm a few of the words from your list. For example, it might say, "Please select the 7th word" and show you a few options.
Using the list you just wrote, you'll confirm the correct words on the device itself. This verification process gives you peace of mind that your master backup is 100% accurate. Once confirmed, your wallet is successfully backed up.
How to Securely Store Your Recovery Seed
Now that you have your verified recovery seed written down, where do you put it? Storing it carelessly is one of the biggest mistakes new crypto users make. Your goal is to protect it from theft, loss, and damage (like fire or water).
Remember, this piece of paper is now one of your most valuable possessions. Understanding how to securely store your recovery seed is your first line of defense against attackers. Here are some proven methods:
- Good: Keep it in a locked, fireproof safe inside your home.
- Better: Store it in a bank's safety deposit box.
- Best: Etch the words onto a metal seed storage plate (from brands like Cryptosteel or Billfodl). These are designed to withstand extreme physical damage.
Just as important is knowing where not to store it. Avoid these common blunders:
- In your desk drawer or wallet: This is too easy for a thief to find.
- With the Trezor device itself: If someone steals your device, they shouldn't find the backup right next to it.
- In a single, obvious location: Some advanced users create multiple copies and store them in different secure locations.
Step 5: Name Your Device and Complete Setup
You’re on the final step! With the heavy lifting of your recovery seed and PIN behind you, finishing your trezor wallet setup is a breeze. This last part involves personalizing your device with a name and ensuring you can access it safely in the future.
Trezor Suite will now invite you to name your device. This is simply a label for your convenience, especially if you plan on using multiple hardware wallets. It helps you identify the correct one at a glance.
Choose and Confirm Your Name
In the Trezor Suite application, you'll see a field to enter a name. You can choose anything you like, such as "My First Vault" or "Trezor Safe 3." For privacy reasons, we recommend avoiding any personally identifiable information like your own name.
After typing the name into the software, you must confirm it directly on your Trezor device. Look at the device's screen, verify the name is correct, and press the button to approve it. This confirmation step ensures no software can change your device settings without your physical consent.
And that's it! Congratulations, you have successfully completed the setup. Your Trezor wallet is now active, secure, and ready to send and receive cryptocurrency.
Pro Tip: Before you do anything else, bookmark the official Trezor Suite for Web page: suite.trezor.io. Getting into the habit of only using this bookmark to access your funds is one of the best ways to protect yourself from phishing scams.
Next Steps: How to Receive and Send Crypto with Your Trezor
Congratulations, your Trezor is fully configured! Now it’s time for the exciting part: putting it to use. A hardware wallet is useless without funds, so your first action will be to receive some cryptocurrency. We’ll walk through how to do this safely, and then briefly cover how to send crypto out.

Receiving Your First Cryptocurrency
To load your wallet, you need to generate a unique address. Think of this like your bank account number, but for a specific cryptocurrency. Here’s the process in Trezor Suite.
- Select Your Account: In the Trezor Suite dashboard, make sure you have the correct cryptocurrency account selected from the left-hand menu (e.g., Bitcoin).
- Generate the Address: Click the green "Receive" button. A new receiving address will appear on your computer screen.
- Verify the Address on Your Trezor: This is the most important step. Trezor Suite will prompt you to "Show full address" and then ask you to check your device. Look at the screen on your physical Trezor and carefully compare the address shown there with the one on your computer screen. They must match exactly.
Warning: Never skip the physical device verification. Sophisticated malware can change an address on your computer's clipboard or screen, tricking you into sending funds to an attacker. Your Trezor’s screen is your trusted source of truth.
Once you have confirmed the address is correct on your device, you can safely copy it from Trezor Suite. Now, go to the exchange or other wallet where you currently hold your crypto and use this address as the destination for your withdrawal. For your first transaction, we always recommend sending a small test amount to be sure everything in your Trezor wallet setup is working perfectly.
Sending Crypto from Your Trezor
Sending crypto is just as straightforward but highlights the security of your device. You'll initiate the transaction within Trezor Suite by clicking "Send," pasting the recipient's address, and entering the amount.
Before the transaction is broadcast, your Trezor device will spring to life. It will display the transaction details—the amount and the recipient's address—on its screen for your review. To authorize the transaction, you must physically press the confirm button on your Trezor. This physical confirmation step ensures that no one can send funds from your wallet without having the device in their hands. It’s the core principle that makes your assets secure.
Frequently Asked Questions
- Is Trezor easy to set up?
- Yes, setting up a Trezor is very straightforward for beginners. While the process is detailed for security, the Trezor Suite software provides clear on-screen instructions. It guides you through every stage, from creating your PIN to backing up your recovery seed, making the entire setup process simple and accessible.
- What are the disadvantages of Trezor?
- The main disadvantage is the initial purchase cost compared to free software wallets. You are also fully responsible for securing your recovery seed; there's no password reset option if it's lost. While the device itself can be lost or damaged, your funds remain safe as long as you have your seed backup.
- Do I need to keep my Trezor plugged in to receive crypto?
- No, your Trezor does not need to be plugged in or powered on to receive cryptocurrency. Funds are sent to your wallet's address on the blockchain, not to the physical device. You only need to connect your Trezor when you want to authorize sending funds out of your wallet.
- Can I withdraw from Trezor to my bank account?
- You cannot withdraw directly from a Trezor to a bank account. To cash out, you first send your crypto from your Trezor to an exchange. On the exchange, you sell the cryptocurrency for fiat money (like USD or EUR) and then withdraw those funds from the exchange to your bank account.
Sources
Author

Crypto analyst and blockchain educator with over 8 years of experience in the digital asset space. Former fintech consultant at a major Wall Street firm turned full-time crypto journalist. Specializes in DeFi, tokenomics, and blockchain technology. His writing breaks down complex cryptocurrency concepts into actionable insights for both beginners and seasoned investors.